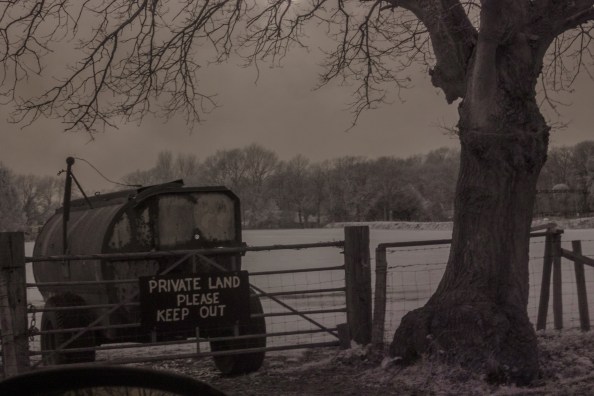
All of my shoots have a very similar editing method so I decided to dedicate an entire blog post to it, however any deviation from this method will be outlined in the shoots individual blog post.
All of my shoots were captured using a tripod(unless stated otherwise), this was to make it easier to stitch my images together in Photoshop. After each shoot I imported all of my work into Photoshop and created a photo merge, this is mainly done automatically by Photoshop but I was required to tweak and fine tune some of the blending between individual images to create a more seamless effect with my images.
After I exported the image from Photoshop I took it into Light room to improve the colours and fix the white balance. As previously mentioned my initial struggles with my full spectrum camera was due to an improperly calibrated white balance. Whilst this does fix how the images look directly on the camera it still displays with a heavy red tinge once imported onto a computer. To overcome this I had to create a custom camera profile for Lightroom to correct the white balance.
`Then once I had the images fairly similar to what I captured on the camera I began to edit the photo merges, I choose to edit the images after they were stitched together as I felt it would be nearly impossible to edit an entire shoot identically so once stitched together looked like one image and not X number of pictures stuck over each other.
All my locations had a similar edit with; raising contrast, lowering exposure and enhancing colours. But after these modifications to the images had been made I tried to make each image look unique and not look like the exact same photo merge just in a different location. This was made a lot easier by there fact that during each shoot I would modify the amount of IR light able to enter the camera using the variable filter, creating unique colours that I further enhanced or changed in Lightroom
Unfortunately due to the nature of these images, being made up of multiple smaller images, they are extremely large files. This isn’t an issue for printing them and presenting them on my map, However it is a problem when presenting them to my blog. Loading each image can take several minuets and would make viewing my blog practically impossible. This lead me to re-export all my images from photoshop, but this time set the quality from 12 all the way down to 0 to compress the file and make it smaller. This will have an effect on its visible quality but its the only way to have my images digitally viewable.